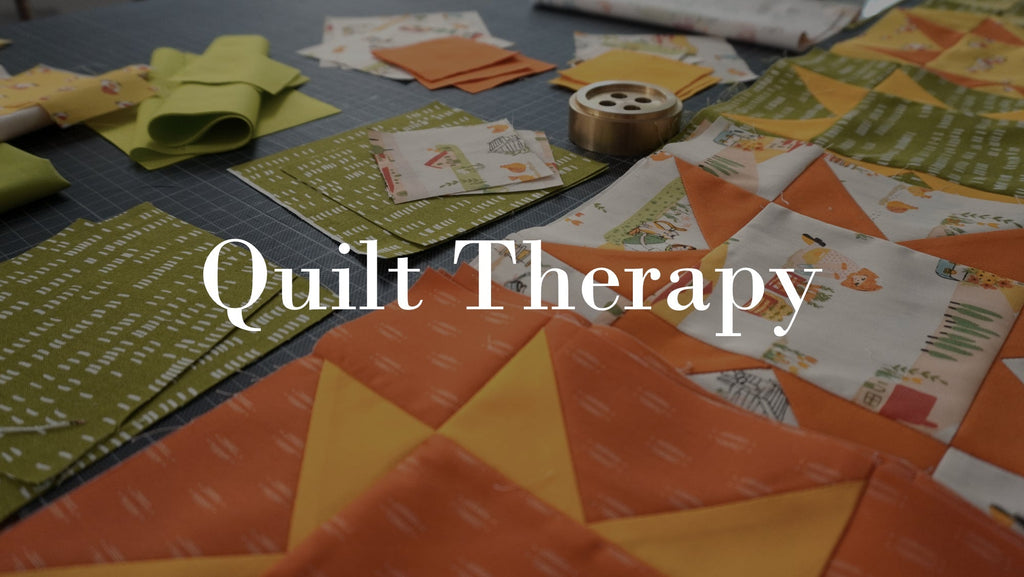
From Loss to Creation Why I Started Quilting

When my grandmother passed away quilting became a way for me to process my emotions and turn grief into a gift.
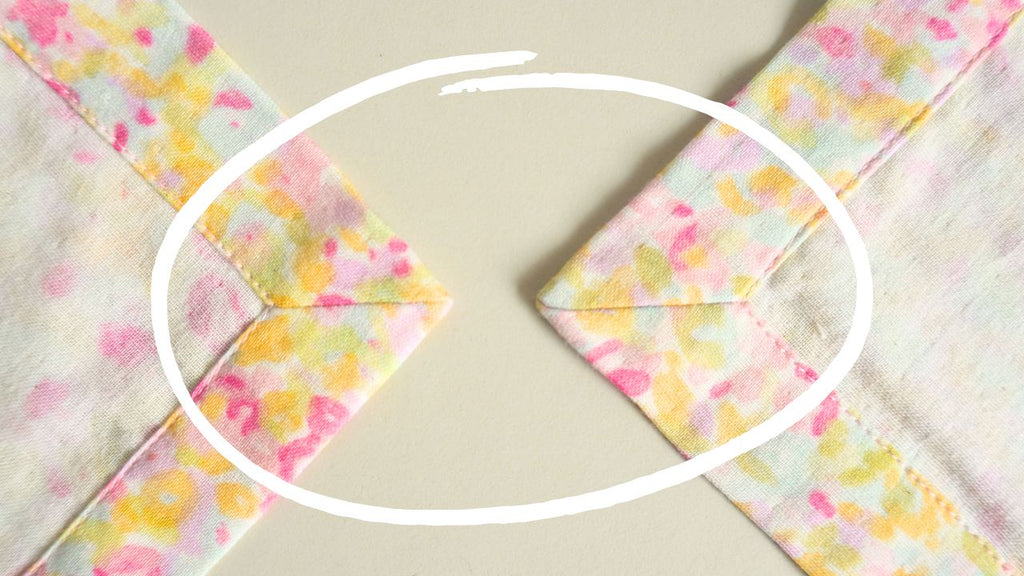
This first video of the series is all about the fabric, the saw tooth block and me making mistakes.