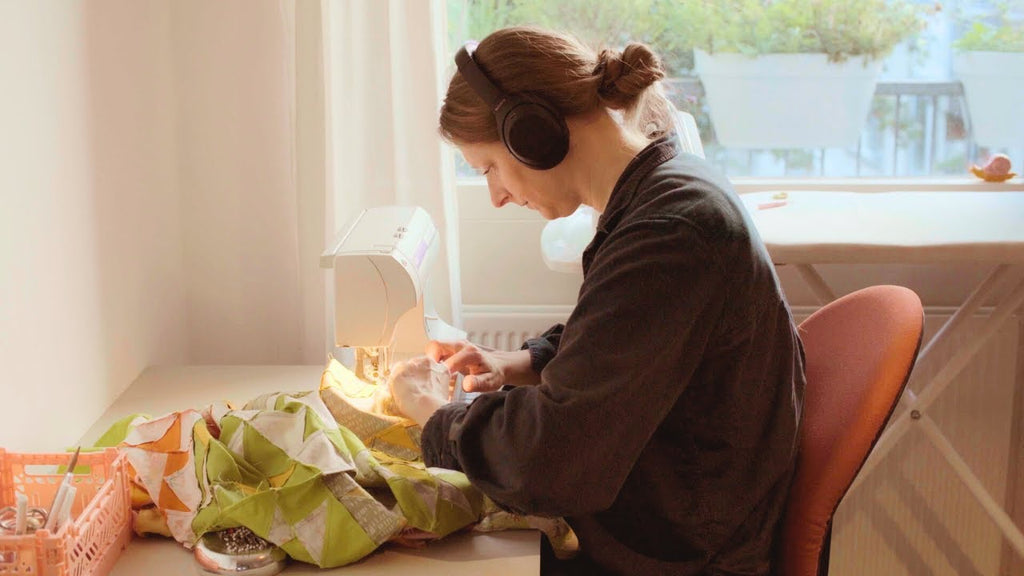
How to Sew an Unlined Drawstring Bag with French Seams (No Raw Edges Inside)


Learn how to sew an unlined drawstring bag using French seams for a clean, polished finish inside and out. This beginner-friendly sewing tutorial walks you through a neat technique to press and sew the tunnel, and French seams so every detail looks intentional. Perfect for gift bags, travel pouches, and everyday use.
Continue reading


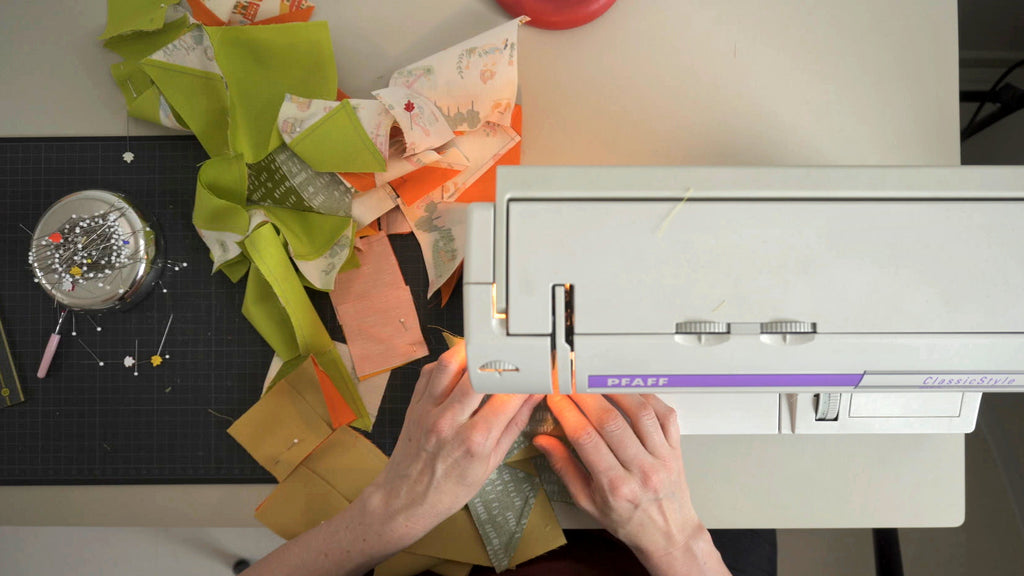
 You only need two pieces of fabric to create this cute colour block drawstring bag. In fact, you only need two fat quarters. A perfect fabric stash buster project.