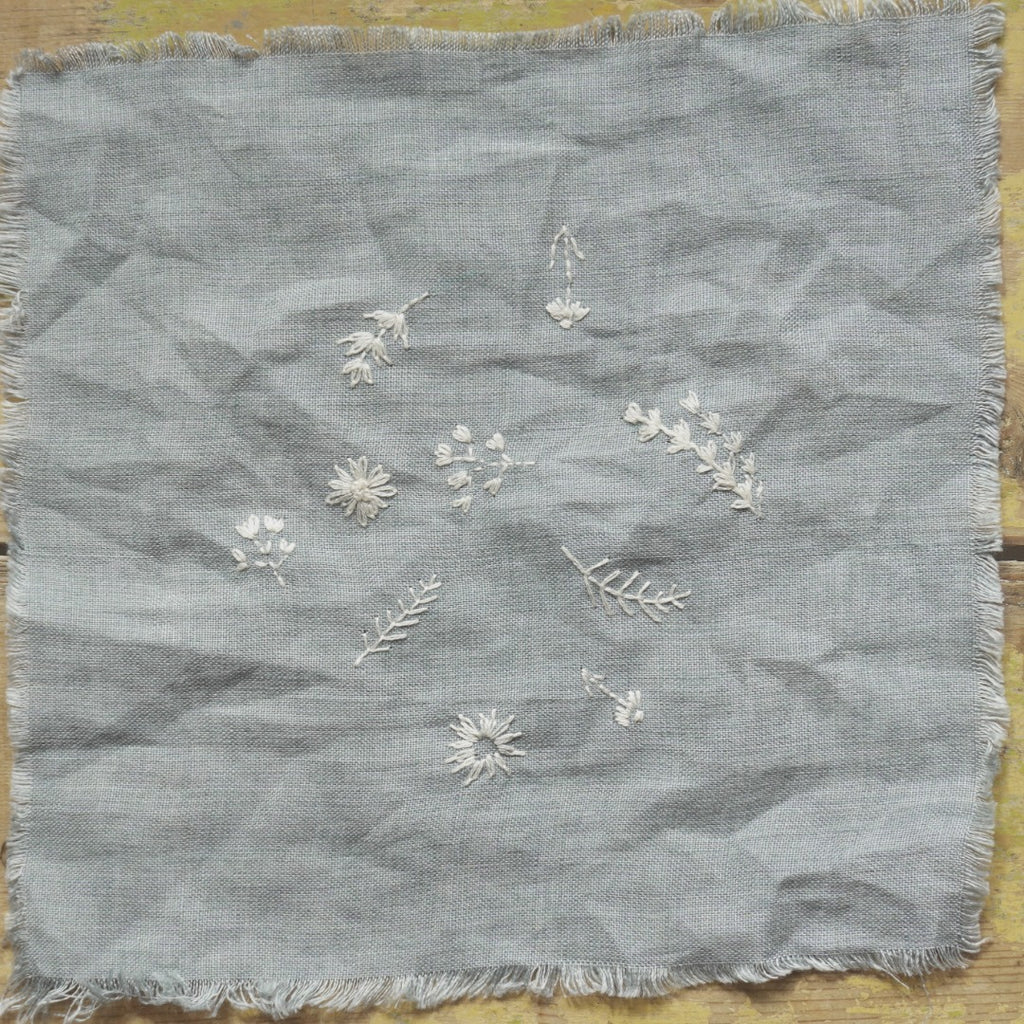
Detached Chain Stitch Experiment: Creating Unique Hand Embroidery Flowers

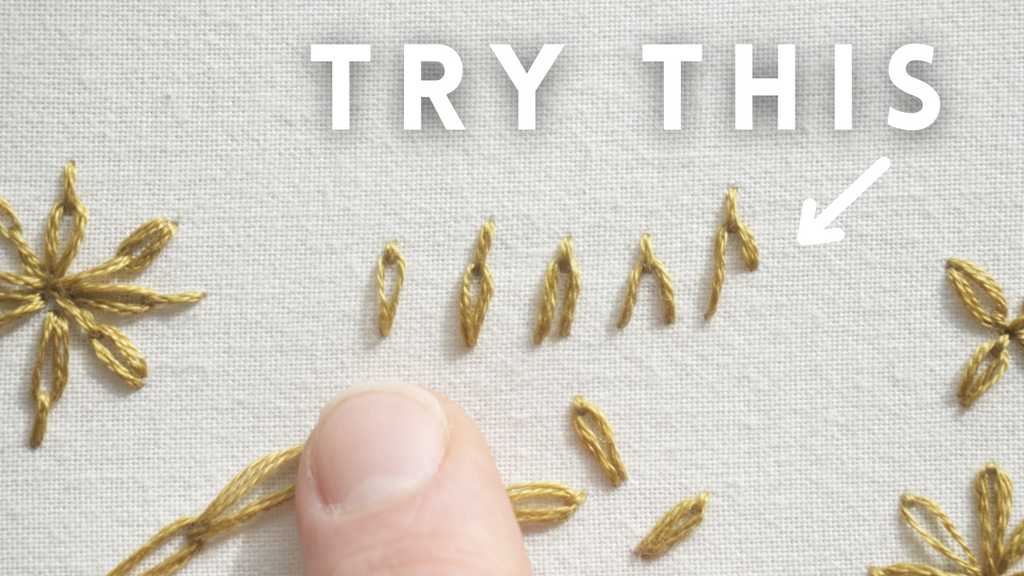

Embroidery is an art form that allows you to express your creativity through delicate stitches and vibrant threads. If you want to take your embroidery to the next level and create more naturalistic and interesting designs, the key is to embrace experimentation. In this video tutorial, you'll learn how to use the detached chain stitch to embroider captivating flowers. We'll explore various techniques, such as the loop start method and the lazy daisy stitch, to add depth and beauty to your floral creations. Let's dive into the world of needle and thread.
Continue reading