My favourite way to tape & assemble large PDF Sewing Patterns

I know a lot of you out there are daunted by the idea, that to make a print at home PDF sewing pattern you have to tape it together, and that means taping together 20, 30, and even 40+ pages.
I have to admit I mostly send my patterns to the copy shop, but sometimes you see a pattern, and you want to dive right in so there's no way around it and you have to bring out the tape.
But I have done my fair share of PDF sewing pattern taping, so I thought I'd share my favorite way to prepare and to assemble them in a video.
I’ll be using my Elskan dress pattern, which if you print all versions, contains 44 pages. I've printed around 24 pages to make the dress with the long sleeves.
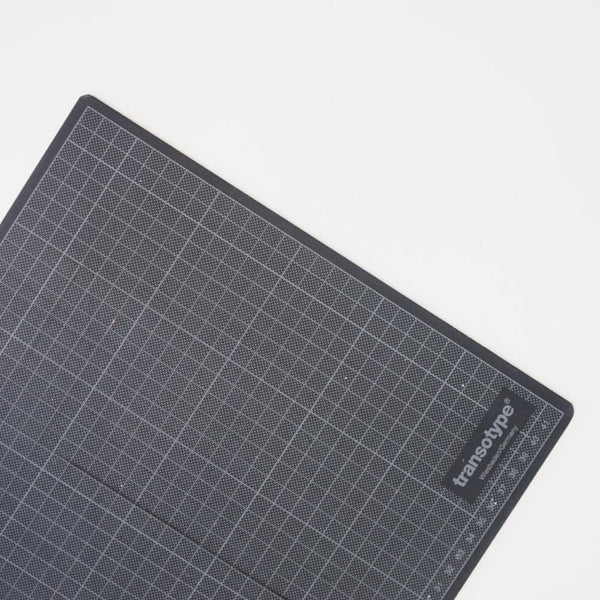
To trim the pages I use an Exacto utility knife + a metal ruler + a cutting mat.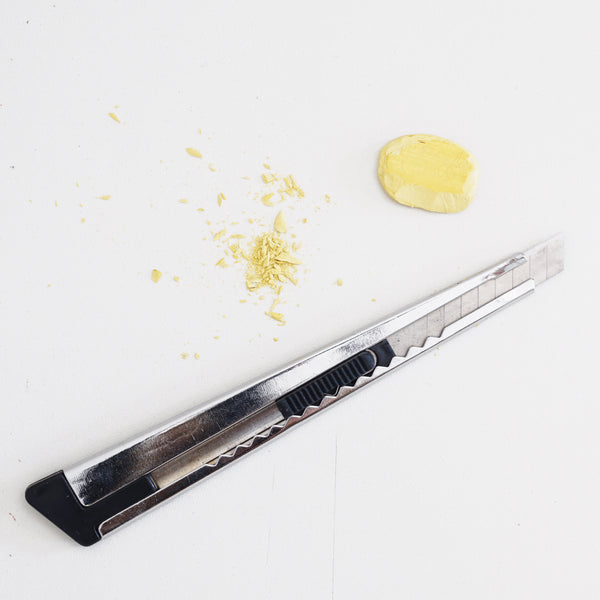
My step by step process:
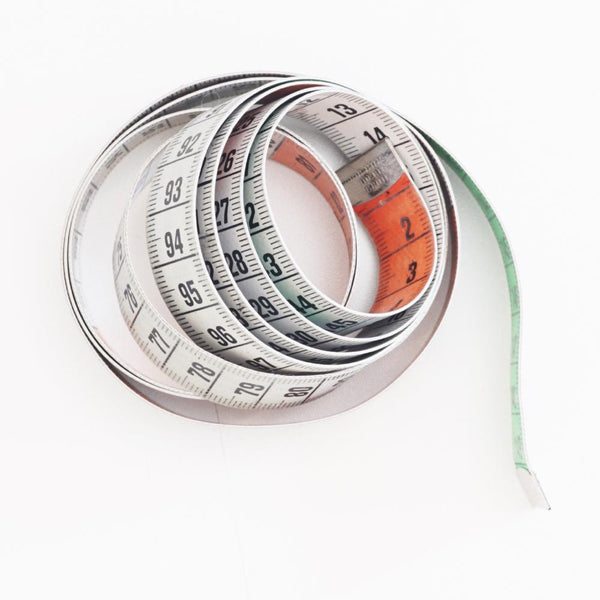
- before you do anything, check the scale of the pattern by measuring the test square.
On my patterns, each tile has squares to line up the pattern pieces and check the scale. The rows have numbers and the columns have letters.
The smaller squares are 1cm and these larger squares are 1inch. - I'll start by trimming the bottom edge of each row, then one of the sides. To speed it up a bit I stack the papers per row and trim the entire stack.
- I'll tape each row first and set them aside until they are all done.
- Complete the pattern by taping the rows together. I roll the pattern up as I go or hang the pattern over the edge of the table.
- Once the pattern is all taped together I roll it up and set it aside until I find time to trace and sew.
But because it's easier to show than to explain I made a step by step video of my favorite way to prepare the pattern tiles and assemble a large PDF sewing pattern:
As always there are other ways to do this. For example:
- Cut the edges off with scissors or simply fold them back, although that does sound like it would get a bit bulky.
- Cut off only the corners and don't trim any of the sides, there will be overlap, but for the most part, it won’t matter. I like the idea of this method, but with my pattern, the markings are probably to light to be seen through the paper.
- Use a glue stick instead of tape.
I don’t know if there is a huge difference in how long it will take to use these different methods but it’s interesting to give these different methods a try and see what works best for you.
I would love to hear your favorite way to assemble PDF sewing patterns, please leave a comment and share your fav technique.
Happy sewing!
Charlotte
PS: looking for a fun and free sewing project? Sign up to the newsletter for a free copy of the smallest Tsuno Tie Bag and sew up some scraps. If you sign up you also get access to the free printable swatch library, sewing project planner and a few other handy templates. You'll receive the files in your welcome mail :)