Get More out of Your Scrap Yarn This Genius Russian Join Method

Get More out of Your Scrap Yarn This Genius Russian Join Method

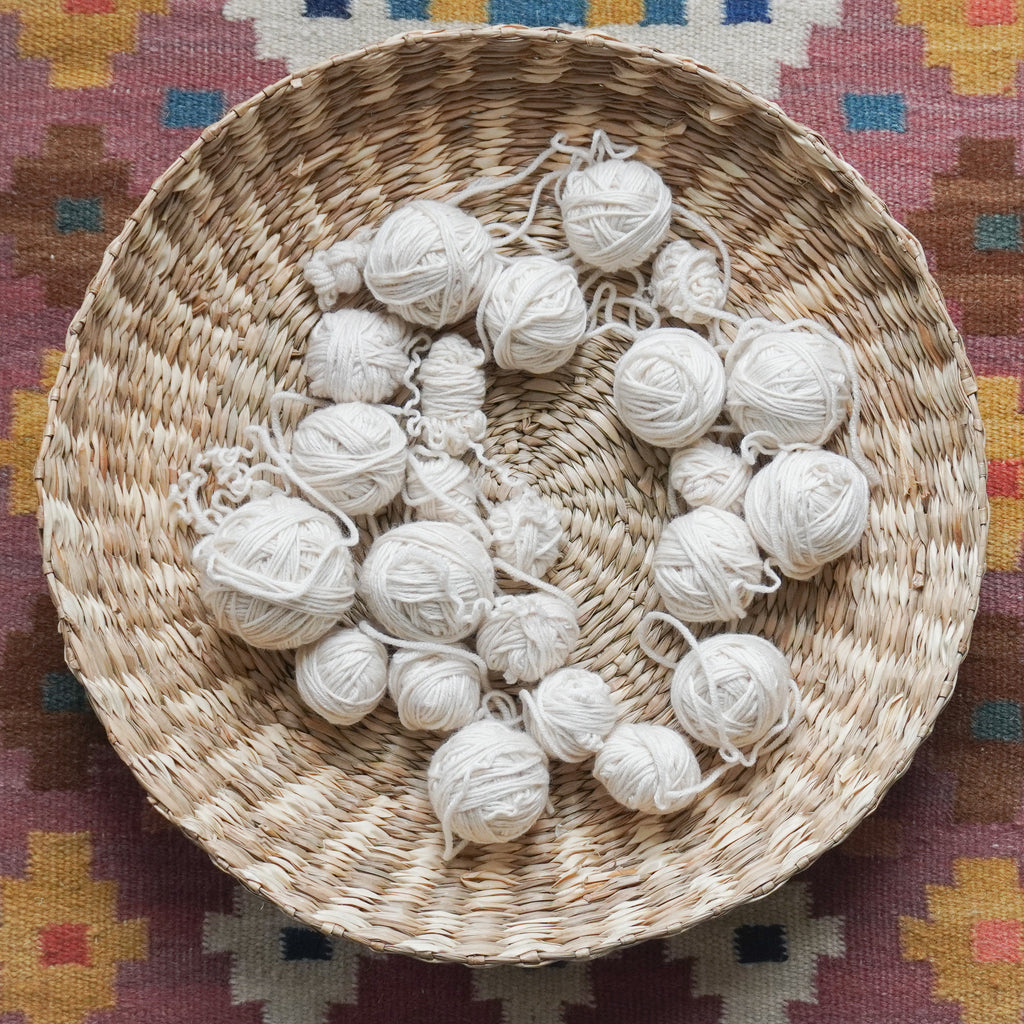
Have you ever wondered how to turn yarn scraps into full balls without wasting any material? Well, I love using the Russian join that allows you to join yarn without creating a knot. Not only does this technique create a strong and smooth join when you are working on a project, but it also allows you to use up all your yarn scraps and gauge swatches.

save your scrap yarn with the russian join

The Russian join is perfect for plied yarn that isn't very sticky. If the yarn is sticky a wet splice is probably a better and faster option.

The Russian Join 

To do the Russian join, you thread the yarn through itself, creating a small loop through which you can thread the end of the yarn you want to join it to. I usually use a blunt needle for this, but sometimes it can be a bit fiddly to thread through the yarn. I like to scrunch up the yarn on the needle and then pull the end through the yarn. To ensure a strong join, I thread it through the yarn at least five centimeters. If you have a loop that's too big, you can pull on the tail before smoothing out the yarn completely.

For yarn that isn't very sticky, I like to thread it through at least five centimeters so that I can taper the ends by thinning out the plies. The extra length gives me some wiggle room and reassurance that it will be a strong join. If you think it looks too bulky, you can thin out some of the plies before smoothing out the crunched up yarn.

Revive Frogged Yarn 

One of the swatches I had was made up of a lot of smaller pieces, and I joined them as I frogged. As you can see in the video, there were a lot of kinks in the yarn, but I was able to do the Russian join without much extra fuss.

After joining each piece, I wound them into a ball by hand, but I wasn't quite ready because of all the kinks in the yarn. So, I decided to use a swift to unwind everything and tie it together so that I could use a steam iron to relax the yarn. It looks so rewarding!

I did have to move up the ties because the seam didn't quite penetrate the wool underneath it. If you don't have a steam iron, I'm wondering if you could do the same over a pot of boiling and steamy water. Washing is another option, but I don't want to wait for it to dry.

I'm using a fancy Knit Pro swift and ball winder, but you can just as easily wind it by hand and use the back of a chair to unwind the yarn. It does take more time, but with a nice movie or podcast in the background, it can be an enjoyable process.

knit pro ball winder center pull cake

My cake is now ready for a scrappy blanket that I'm planning to knit in the future. I'm so happy with the result!

Continue reading

How To Make A Lined Drawstring Bag From Only One Piece of Fabric

How To Make A Lined Drawstring Bag From Only One Piece of Fabric

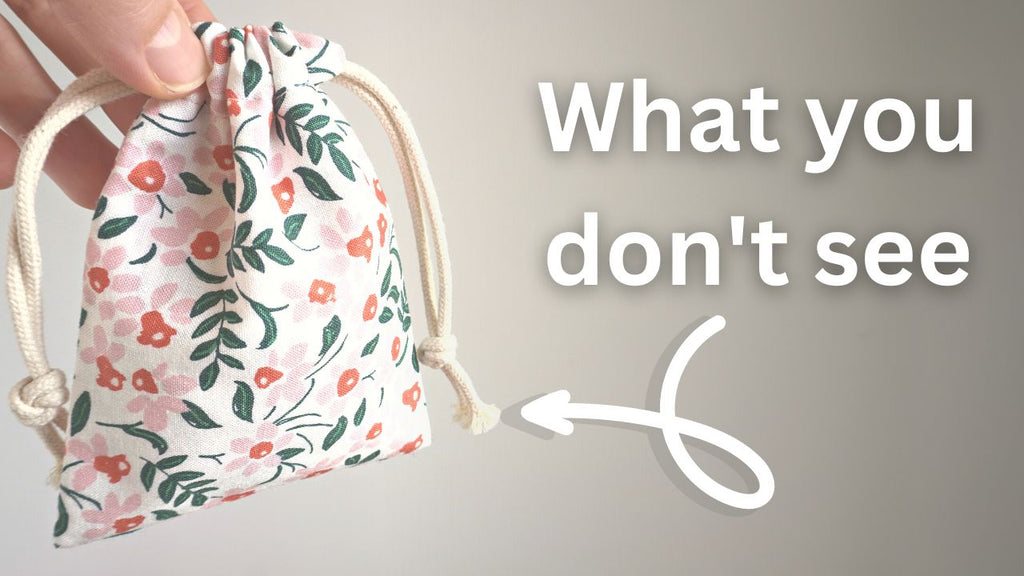
Easy drawstring bag from one piece of fabric - beginner sewing project

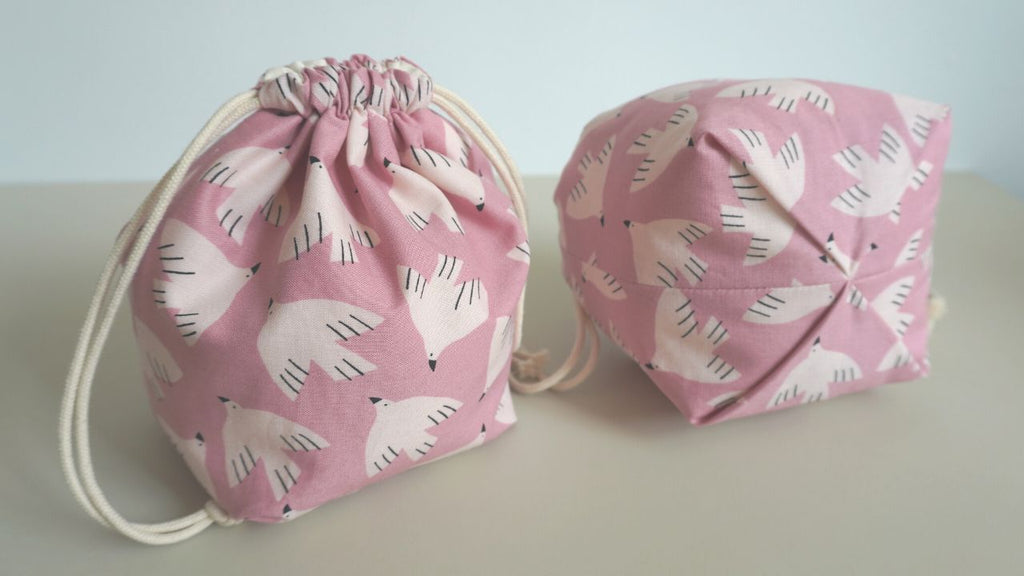
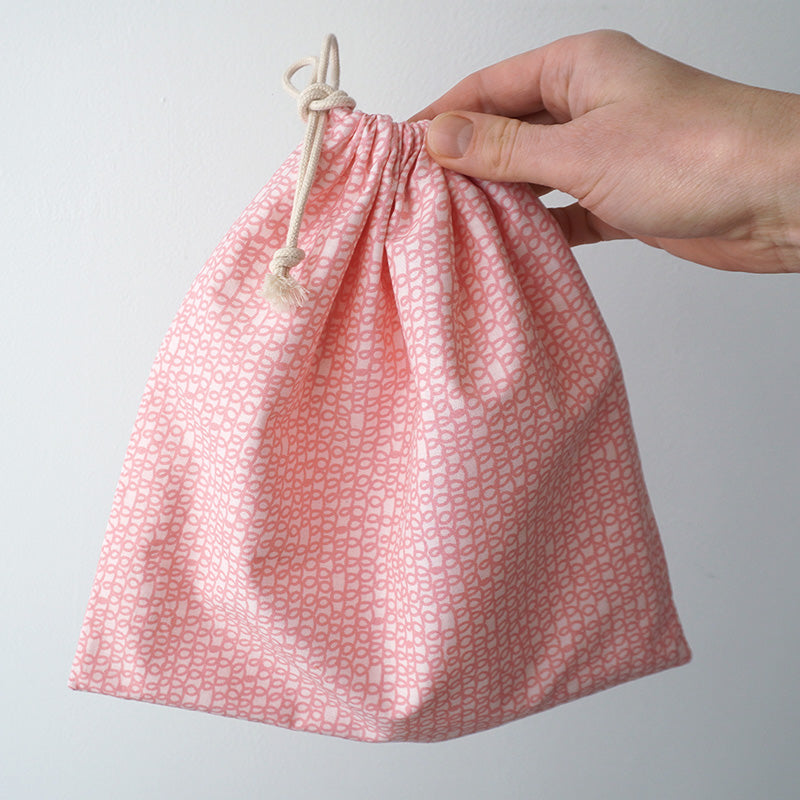
In this tutorial, I'll show you how to make a lined drawstring bag or pouch using the entire width of fabric. This beginner sewing project is perfect for storing small items, like a skein of yarn, an embroidery project, or use it as a reusable gift bag.

You'll be able to create a beautiful lined drawstring bag in no time! If you're new to sewing, or just want to learn a new sewing technique, this is the tutorial for you!

Materials you'll need for the lined drawstring bag:

- 112 X 29 cm [44"x11.4"], I used thew entire width of the fabric including the selvedge. You can easily adapt the size to your preference or to fit the fabric you have.

- 3 mm braided cotton cord

Finished size:  26.5 x 26 cm [10.4" x 10.2"]


Continue reading

New Skillshare Class + Giveaway: How to sew with cork and make a crossbody bag

New Skillshare Class + Giveaway: How to sew with cork and make a crossbody bag

In this class you'll learn how to sew with cork fabric to create a simple crossbody bag. 

So if you are curious about how to sew with cork fabric a.k.a cork leather or vegan leather and you want to learn some basic bag making skills, this is the class for you!

When I first got interested in cork fabric, I had no idea if you could sew the material with a normal home sewing machine, what needle to use or where to find it. Turns out...yes! You can sew cork leather on a regular sewing machine and with a few handy toolit's not as hard as it looks.


What will you learn in this class?

  • We’ll go over the specifics of working with cork fabric, like what sewing needles to use and my favorite tools for sewing cork.
  • How to shorten zippers set in exposed zippers (metal and plastic)
  • How to add zipper tabs for a refined look.
  • How to get even topstitching
  • how to sew over thick layers
  • And finally, I’ll show you how to alter the pattern to create a smaller bag with a round bottom which will hopefully inspire you to do your own tweaks and customize the design.

how to sew a cork leather bag, half moon shaped

What's included in this class?

  • The crossbody PDF sewing pattern included in the resource section, so you can sew along and make your own.
  • My support, I'll do my best to answer your questions in the discussion section.
  • A resource list including my favorite online shops that sell cork and notions
  • 20+ lessons explaining all the key techniques, step-by-step.

There is much to love about working with cork leather, but these are my main reasons


Cork leather is:

  • A great alternative for leather
  • Lightweight
  • Durable
  • Easy to work with on a regular sewing machine
  • Available in many colors and prints


Skill level:

You’ll need to be confident using a sewing machine and have at least a few projects under your belt...however I am going to show the process step-by-step so if you are an ambitious beginner you should be able to follow along.

If you are an experienced sewer you’ll probably find that the construction of this bag is fairly straightforward and a fun project to experiment with new material.

At the end of this class, you'll know how to sew a simple bag using cork leather and you’ll be able to make a few simple tweaks to customize the design. The bag is a great addition to your me-made wardrobe and perfect as a gift.


Skillshare

If you are new to Skillshare, it's a subscription service like a Netflix but for learning new skills on mostly creative topics like lettering, sewing, embroidery, filmmaking, illustration, procreate, water colour painting, macrame, ceramics, interior desing, graphic desing and much more!

And if you sign up through this link you got to watch my class and thousands of other classes for free for 2 weeks! By signing up for a free trial I earn a small commission ($10) which supports my work and enables me to create more classes. So thank you if you do! And imagine me doing a tiny, awkward happy dance when you do :)


Giveaway

however if you are only interested in my class, you can use this link there are only 25 free spots in the class! How does it work:

- Read this before you click You'll need to make an account (simply don't fill out billing info and you'll automatically have a free account). Then make sure you are logged in, then click on the link to watch and you should be able to unlock the full class.

- First come first serve. 

By signing up through the free link, I don't earn a commission, but it does help my class get found on skillshare. More students = more visibility! so thank you for signing up and participating in the class and imagine me doing a little happy dance whilst spilling my morning coffee. 

How to sew with cork leather

Happy sewing!

Charlotte


PS: looking for a fun and free sewing project? Sign up to the newsletter for a free copy of the smallest Tsuno Tie Bag and sew up some scraps. If you ​​​​​​​sign up you also get access to the free printable swatch library, sewing project planner and a few other handy templates. You'll receive the files in your welcome mail :)

Continue reading

My favourite way to tape & assemble large PDF Sewing Patterns

I know a lot of you out there are daunted by the idea, that to make a print at home PDF sewing pattern you have to tape it together, and that means taping together 20, 30, and even 40+ pages.

I have to admit I mostly send my patterns to the copy shop, but sometimes you see a pattern, and you want to dive right in so there's no way around it and you have to bring out the tape.

But I have done my fair share of PDF sewing pattern taping, so I thought I'd share my favorite way to prepare and to assemble them in a video.

I’ll be using my Elskan dress pattern, which if you print all versions, contains 44 pages. I've printed around 24 pages to make the dress with the long sleeves.


To trim the pages I use an Exacto utility knife + a metal ruler + a cutting mat.

My trusty utility exacto knife, to trim pdf sewing patterns tiles
My cutting mat

My step by step process:

  1. before you do anything, check the scale of the pattern by measuring the test square.

    On my patterns, each tile has squares to line up the pattern pieces and check the scale. The rows have numbers and the columns have letters.
    The smaller squares are 1cm and these larger squares are 1inch.


  2. I'll start by trimming the bottom edge of each row, then one of the sides. To speed it up a bit I stack the papers per row and trim the entire stack.


  3. I'll tape each row first and set them aside until they are all done.


  4. Complete the pattern by taping the rows together. I roll the pattern up as I go or hang the pattern over the edge of the table.


  5. Once the pattern is all taped together I roll it up and set it aside until I find time to trace and sew.


But because it's easier to show than to explain I made a step by step video of my favorite way to prepare the pattern tiles and assemble a large PDF sewing pattern:

Click & Subscribe on youtube


As always there are other ways to do this. For example:

  1. Cut the edges off with scissors or simply fold them back, although that does sound like it would get a bit bulky.

  2. Cut off only the corners and don't trim any of the sides, there will be overlap, but for the most part, it won’t matter. I like the idea of this method, but with my pattern, the markings are probably to light to be seen through the paper.

  3. Use a glue stick instead of tape.

I don’t know if there is a huge difference in how long it will take to use these different methods but it’s interesting to give these different methods a try and see what works best for you.

I would love to hear your favorite way to assemble PDF sewing patterns, please leave a comment and share your fav technique.

Happy sewing!

Charlotte


PS: looking for a fun and free sewing project? Sign up to the newsletter for a free copy of the smallest Tsuno Tie Bag and sew up some scraps. If you ​​​​​​​sign up you also get access to the free printable swatch library, sewing project planner and a few other handy templates. You'll receive the files in your welcome mail :)

Continue reading

How to download and print PDF sewing patterns at home


To download and print a PDF sewing pattern, you'll need to download Adobe Acrobat (you can download it for free here) a printer that can print on A4 or letter size paper and a desktop/laptop.

Make sure you are using the latest version of Adobe and that your printer software/driver is up to date.

I've made a video showing the steps for the Elskan dress / top pattern, which covers the basics but I wanted to elaborate on a few topics and common questions on how to print and download PDF sewing Patterns at home.

Continue reading

How to : Sew a little sewing needle organizer or fabric gift tag

The last few weeks have been stressful to say the least and I hope you and your loved ones are all doing well. I thought this would be a fun, beginner friendly, sewing project that's not only fast, but a great project to use up scraps.


The materials you'll need:

  • An award ribbon shaped template, I'll explain the dimensions in the video. (Newsletter subscribers and customers can download the welcome mail)
  • Scrap fabric. An A4 sized piece should be enough to make two
  • Matching thread ( I use Gutermann all purpose thread)
  • A marking pen or pencil
  • Scissors
  • A seam ripper or hole punch
  • 1 x 4mm per ribbon/organizer. I used a box from prym, that I had left over from old projects.
  • Pinking shears for a fancy zig zag edge

You can sew along with the video:


Happy sewing!

Charlotte


PS: looking for a fun and free sewing project? Sign up to the newsletter for a free copy of the smallest Tsuno Tie Bag and sew up some scraps. If you ​​​​​​​sign up you also get access to the free printable swatch library, sewing project planner and a few other handy templates. You'll receive the files in your welcome mail :)

Continue reading

How to add boxed corners to your Tsuno Tie Bag

Adding boxed corners to your Tsuno Tie Bag adds a nice detail and adds a flat bottom to the bag making it sit upright more easily.

Because you are cutting of the the tips you do loose some room in the bag, and you are making the pointy handles a bit shorter.

You can use the excel sheet that comes with the Tsuno Tie bag to customize how much depth you create, and how it effects the other dimensions of the bag. This is a great way to customize the bag to fit a small rectangle sized gift like a small giftbox, a bar of soap or a book.


In the video tutorial I'm going to use a French seam to add the boxed corners which is easier than it sounds and makes for a fancy and clean finish on the inside.

I'll be using the Tsuno Tie bag in the video tutorial, but you could easily apply this technique to many bag bottoms. It's an easy but lovely technique to have in your sewing toolbox.

 Get the Tsuno tie bag pattern here

 or

Grab a free copy of the XXS here and sign up for the newsletter


Happy sewing!

Charlotte


PS: looking for a fun and free sewing project? Sign up to the newsletter for a free copy of the smallest Tsuno Tie Bag and sew up some scraps. If you ​​​​​​​sign up you also get access to the free printable swatch library, sewing project planner and a few other handy templates. You'll receive the files in your welcome mail :)

Continue reading

How to track your sewing projects and alterations + a bujo layout and pdf template

Sewing planner bullet journal page template

Have you eve made changes to your sewing pattern, but forgot exactly what you did? *Raises hand*...I often put away a project for weeks, sometimes months and forget whether or not I've added those 2 extra centimeters to the sleeve, or I want to remake a wardrobe staple I made a year ago and can't find the edits I've made.

It's annoying because I could get out a measuring tape and figure most things out, but some edits are quite subtle and hard to backtrack from a garment that's been worn and washed.

So I decided to be more diligent and track my pattern edits in a pattern card/project planner / sewing journal mash-up. Something I used to do when I still designed and produced small collections. We would use a system to track pattern alterations, versions, construction order, material cost, production time and all the materials needed for the project.

I currently don't need to track each and every detail, but I do want to keep my sewing projects organized. My main wish was to be able to set a project aside for a while and confidently pick up where I left off.

There are so many details you could track, but in the end, only trial and error will lead you to a system that works for you.

Here are some of the possible sections you could add to your project planner.

  • Body measurements + the date you took those measurements because your sizes probably will fluctuate over time.
  • Hacks and alterations. How much length did you add to the sleeve? or how much you pinched out of the back panel?
  • Finished garment measurements and ease. Figure out how much ease the pattern has and compare it to garments you already own and love.
  • The size or sizes you've traced.
  • How much fabric you need.
  • The color number of the thread you used.
  • Name and designer of the sewing pattern.
  • The pattern #hashtag for sharing on Instagram.
  • The order of construction so you don't have to check the instruction booklet.
  • Future alterations.
  • Notions & sewing machine needles.
  • Material costs.
  • Stitch length or other sewing machine settings.
  • The date you started or when you finished.
  •  A sketch of the garment or details.
  • A link or website name where you found that super helpful tutorial you used.

I decided to create a sewing planner template that includes a few set categories and room for notes and details that fall outside these sections.

P a t t e r n  d e t a i l s
- this is where I can track the basics

name:
designer:
date:
pattern O printed O taped O traced O cut
fabric O washed O cut

f a b r i c / n o t i o n s / n o t e s
- where I can write down everything I need to actually sew the pattern

b o d y m e a s u r e m e n t s + d a t e
- to keep an eye on if my size changes since I last made the pattern

f i n i s h e d  g a r m e n t  m e a s u r e m e n t s
- to see how much ease the pattern has

s i z e  t r a c e d
- If I fall between sizes I can track which sizes I've traced

 
bullet journal layout for sewing, project planner

Sewing project planner printable vs a notebook or Bullet journal

You can simply write everything on a sheet of paper and add whatever you need, or write everything down in a notebook or bullet journal, but I couldn't resist the opportunity to create a printable for a streamlined look and ease of use.

I've been a bullet journal user for about 4 years now and I found my style to be super basic, I don't use colors or markers, just my trusted Lamy safari fountain pen. The bullet journal layout was a nice experiment for inspiration. I kept the layout very minimalist and I managed to keep it all on one page. the empty page could function as a way to jot down additional notes or a place to add inspiration for the project.

In the end, I will mainly use the printed template and only use the bullet journal for plans that require more planning and research like when I'm starting from scratch and making the actual pattern.

If you want to try the printable for yourself, it's available as a free download to newsletter subscribers and customers in the resource library.

Sewing planner page template free pdf download

How I use my sewing project planner for the Garçonne shirt

I used the sewing project planner template I created when I decided to hack my Garçonne shirt. I've already made two shirts with a regular button band, but I wanted to make another one with a partial placket and sleeve plackets and turn it into a popover shirt.

I created the pattern pieces and wrote down how long I wanted the front placket to be, after holding it in front of my chest and adjusting the length.

Another thing I added, was a sketch to remind me how the sleeve plackets should be attached to the sleeve since I have messed this up in the past. I was glad I had the simple sketch handy when sewing, it definitely sped up my process. 

All in all, it was a success and I will keep using it (and probably fine-tuning) in the future!

Now I would love to hear from you! Do you have a system in place to track your sewing projects and alterations? I would love to hear your tips and ideas.


Sewing planner pdf template, tracking alterations

Sign up and download the free sewing planner page template

Sign up to the newsletter for a free copy of the smallest Tsuno Tie Bag to sew up some scraps. Plus If you ​​​​​​​sign up you get access to the free printable swatch library, sewing project planner and a few other handy templates. You'll receive aal these files in your welcome mail :)

Continue reading

Tie Dress: Wrap Dress Hack

Tie dress PDF sewing pattern hack and alterations

When I originally designed the Tie Dress, it was part of my small ready to wear collection and it was made in a small size range in my studio in Rotterdam. I have no idea how many we made and sold, but I still had this indigo/purple/Yves Klein blue version lying around, there is a small fault in the fabric, right on the boob but not that visible at all...maybe that's why it never got sold? Anyway, I love the colour (which is nearly impossible to photograph well) but the size was too big for me. And since it's #AlterItAugust I though I join in and alter this blue beauty from the archive.

Continue reading

5 steps to pick the right sewing pattern size + get a better fit. Even if you are a beginner!

how to pick the right size sewing pattern

Yay! You decided to start sewing. You bought a sewing machine, did a few practice projects and now you are ready to sew your own handmade wardrobe. You want to create your own handmade wardrobe because fast fashion turns you off, you can't find what you are looking for or you simply don't fit the standard RTW (ready-to-wear) sizes.

You pick your first pattern put your blood, sweat, and tears into that first garment, only to find out it's too baggy or too tight and you start second guessing the whole plan of sewing your own wardrobe.

Or

You never start because you lack confidence and question everything...Which pattern size should I choose? What should I do if I don’t fit into any of the listed sizes? What if I fall into different sizes? How do I take my measurements?

Continue reading