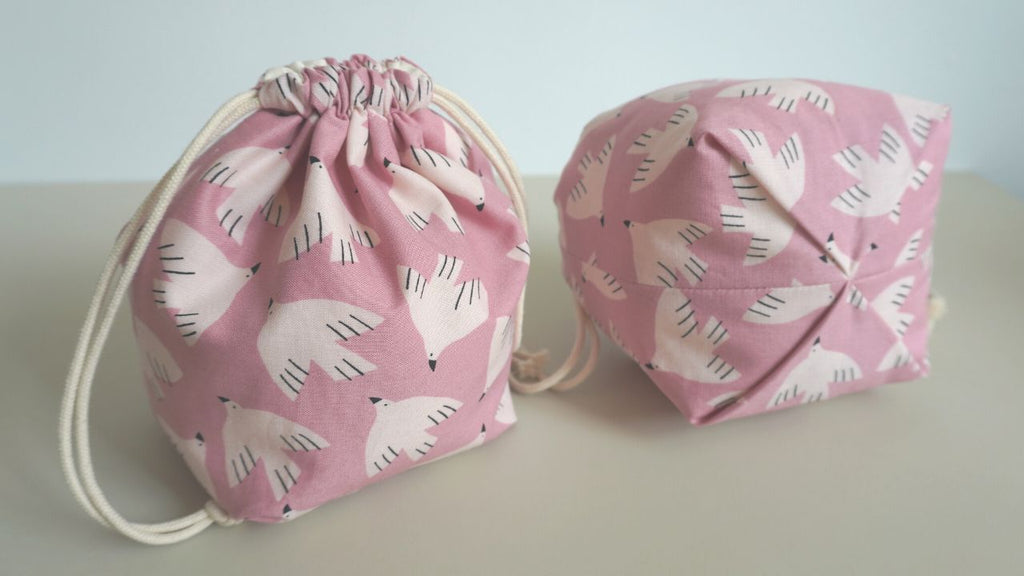
How to Sew a Lined Drawstring Bag with Boxed Bottom: Step-by-Step Video Tutorial

Are you a beginner looking for a fun challenge to enhance your sewing skills? In this video tutorial, I'll guide you through the process of sewing a lined drawstring bag with a boxed bottom.
This adorable bag, made with cotton fabric, is an ideal opportunity to make the most of fabric scraps.
The pouch is not only perfect as a gift bag but also ideal for small knitting projects or carrying snacks. Trust me, once you make it, you'll find endless uses for this cute bag!
Finished size of the bag
Bottom:
- 11 x 11 cm
- 4 3/8" x 4 3/8"
Height:
- 18 x 18 cm
- 7" x 7"
Fabric requirement (seam allowance included):
- Outer 2x : width 25 cm x height 27,5 cm
- Lining 2x : width 25 cm x height 27,5 cm
- Outer 2x : width 10" x height 10 3/4"
- Lining 2x : width 10" x height 10 3/4"
Gather Your Materials
Before we begin, make sure you have all the necessary materials on hand:
- Cotton fabric, look for quilting cotton in fun prints. Choose a pattern or color that speaks to you!. I used an organic cotton fabric from Cloud9, Glide by Betsy Siber. The fabric weight is 100 gsm.
- Lining fabric. Pick a complementary color or pattern. I always have scraps of calico / unbleached cotton on hand so that's what I used.
- Matching thread
- Scissors
- Pins
- Ruler or measuring tape
- Sewing machine
- An iron preferably with steam. Steam makes the proces of pressing so much easier. Even a cheap one will make a big difference and will work well on cotton.
- Drawstring: I used a 3 mm braided cotton rope, but slightly thicker or thinner will work too.
Happy sewing!
