Sewing Blog

Sewing a Mini Tote Bag: A Beginner-Friendly Tutorial

Sewing a Mini Tote Bag: A Beginner-Friendly Tutorial


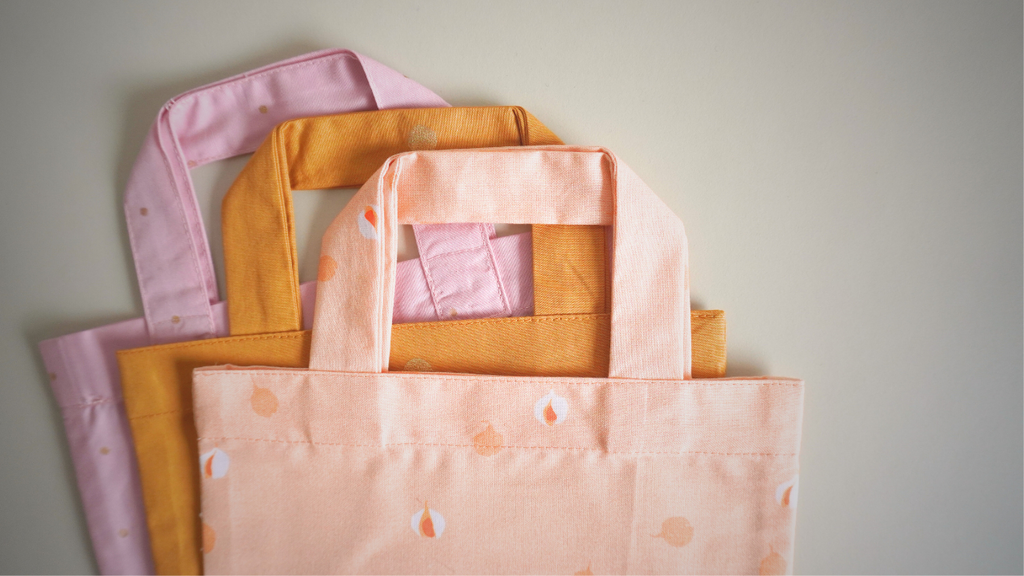
In this beginner-friendly sewing tutorial, I'll guide you through the steps to create a cute mini tote bag that's both fun to sew and functional. I plan to use them as gift bags for books or notebooks. This one fits 2 size a5 notebooks. 

Getting Started

Before diving into the sewing process, it's essential to choose the right fabric. Opt for something like quilting cotton, which is easy to work with and comes in a variety of colors and prints. Additionally, ensure your fabric is on grain when you cut the pattern, though for a small bag like this, perfection isn't crucial. 

Sewing Techniques

We'll be using French seams for this project, which may sound fancy but are actually quite simple and provide a clean, professional finish. Don't worry if you're not familiar with them; we'll walk you through each step. This project is the perfect opportunity to give them a try and practice.


By the end of this tutorial, you'll have a charming mini tote bag that's perfect for carrying small essentials, to use as a party favor bag or as a thoughtful gift(bag) for a friend.

Continue reading

Sew Fast - Drawstring Gift Bag with Just One Piece of Fabric!

Sew Fast - Drawstring Gift Bag with Just One Piece of Fabric!

easy and fast self lining drawstring bag video tutorial

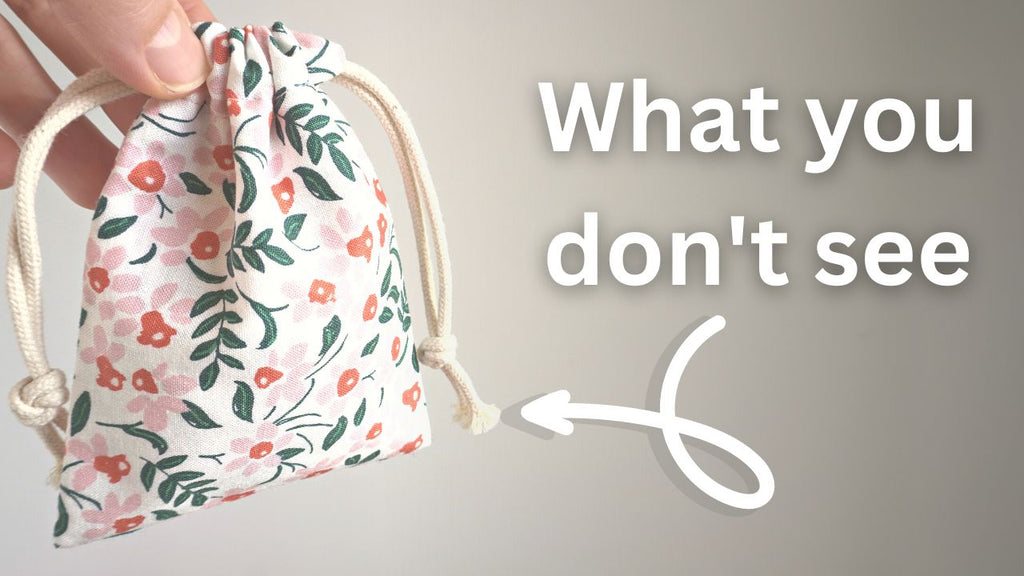
let's create a charming self-closing drawstring gift pouch with just one strip of fabric! In the video tutorial I'll guide you through all the steps. This project is beginner-friendly. 

As you sew, press, and turn the fabric you'll see it, almost magically, come together from just one piece of fabric. Use the bag as a little gift bag or to store some knick-knacks.

 View on Youtube

Continue reading

Tiny boxed pouch with zipper tutorial

Tiny boxed pouch with zipper tutorial


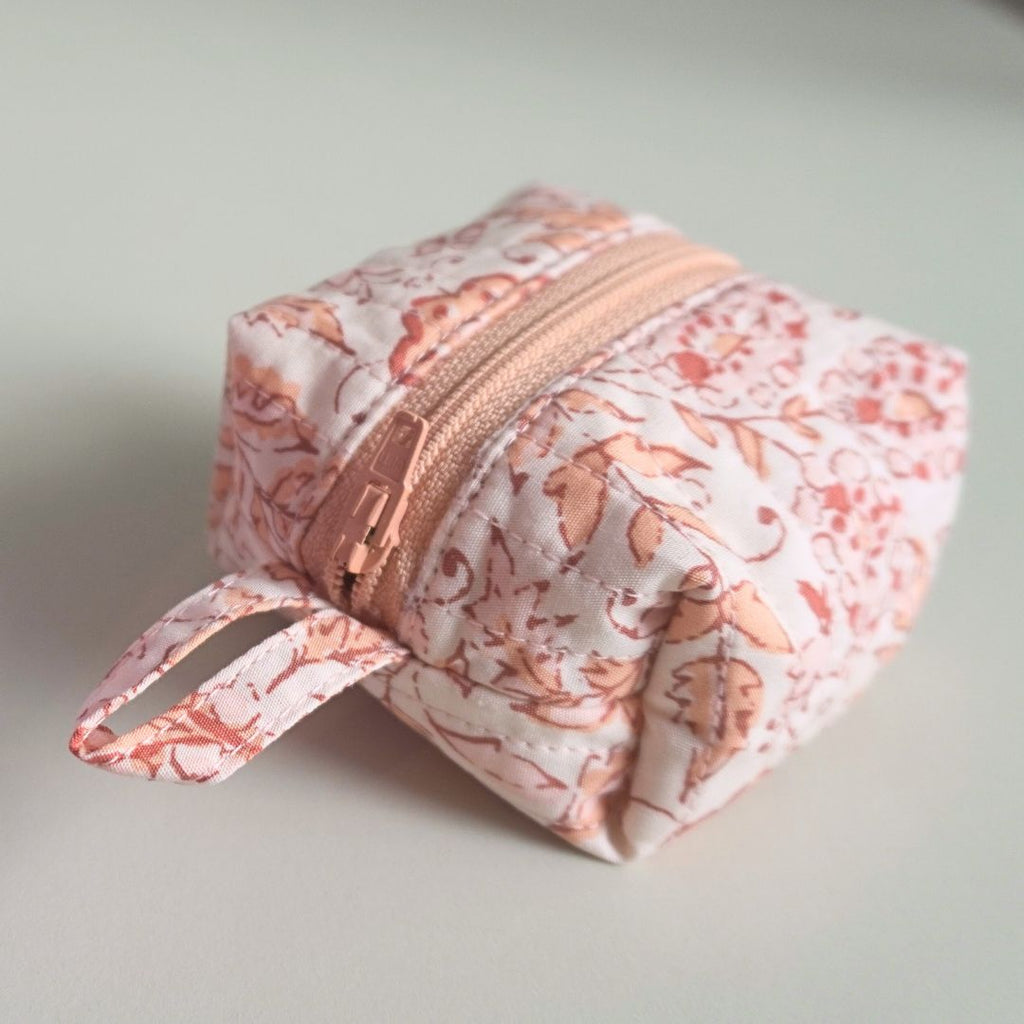
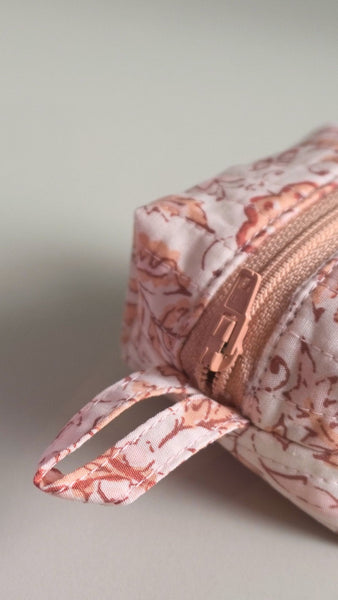
I made this small boxy pouch to add a little bit of padding to my charger and cord that go into my knitting bag. It could also double as a small make up bag for a chap stick and blush. Or turn it into a little gift. 

You can make this tiny box pouch two ways – flat or turned into a cube by boxing the corners. 

I'll show you the step-by-step proces. We'll quilt the fabric, insert the zipper, use binding to finish the raw edges and box the corners. If you don't have batting, you could easily omit the quilting. If you want to give is some more structure without the quilting, use a fusible interfacing or a heavierweight fabric.

Tiny boxed pouch with zipper tutorial

Tiny boxed pouch with zipper tutorial

tiny zippered boxy pouch

Continue reading

Easy Zipper Pouch with Lining: Beginner-Friendly Tutorial

Easy Zipper Pouch with Lining: Beginner-Friendly Tutorial

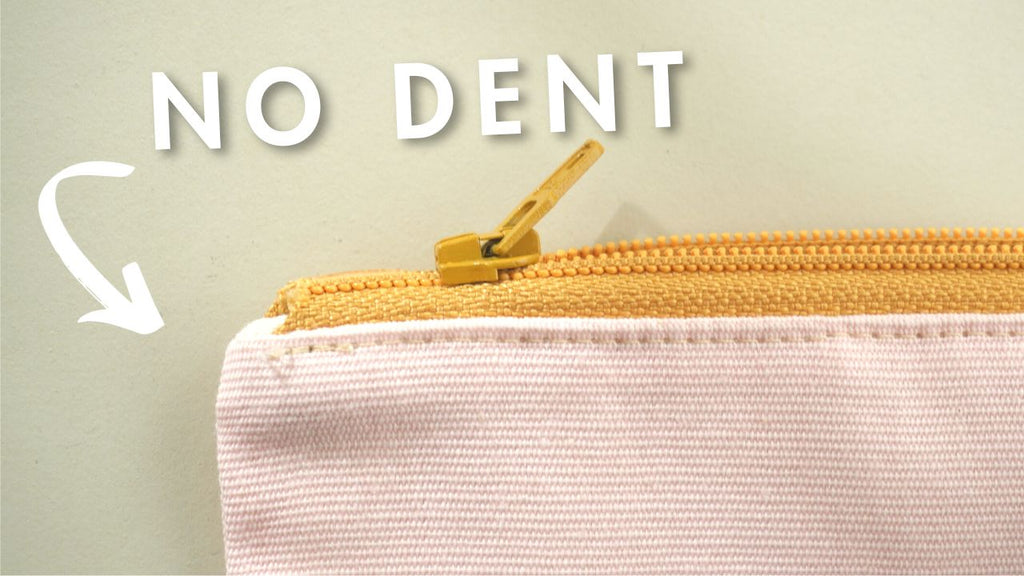
Zippered pouch with lining and no dented corners


Is every new sewer afraid of zippers? I certainly was! However once you get the hang of them they really aren't that bad and scary to sew.

The trick with sewing zipper is to start simple and zippered pouches are simple, don't need a lot of material and if you succeed you'll have a cute little pouch to use.

So In this step-by-step video tutorial, I'll walk you through the entire process, making it easy for even beginners to master.

For this project, I chose materials that strike a balance between weight and easy to work with. A cotton fabric between 150 and 250 gsm should be easy to work with and have enough body to it.

My outer fabric is a 235 gsm cotton from Ikea. As for the lining, I repurposed an old toile made from unbleached cotton. I can 't remember the weight but it's around 140 gsm. 

I let the length of my zipper determine the width pf the pouch. Zipper length (from slider to stop) is 15 cm [6 inches]. The zipper tape total is about 19.5cm [7.7 inch] I used this as the width of the fabric I cut, this way there is plenty of seam allowance next to the zipper ends once I sew the pouch. 

If your zipper tape is shorter, take the zipper length (from slider to stop) and add 4.5cm [1 3/4 inch]. This should give you about 1.5cm [ a scant 5/8 inch] seam allowance next to the end of the zipper.

Finished size of the bag 

  • 17 x 16 cm
  • 6.7" x 6.3" 

Fabric requirement (seam allowance included):

  • Outer 2x : width 19.5 cm x height 17 cm 
  • Lining 2x : width 19.5 cm x height 17 cm 
  • Outer 2x : width 6.7" x height 7.7"
  • Lining 2x : width 6.7" x height 7.7"

  • Gather Your Materials

    Before we begin, make sure you have all the necessary materials on hand:

    • Cotton fabric, look for quilting cotton in fun prints or a light weight canvas. Somewhere between 150 and 250gsm.
    • Lining fabric. Pick a complementary color or pattern. I always have scraps of calico / unbleached cotton on hand so that's what I used. The weight should be light than the outer fabric
    • Nylon or metal zipper with a stop at one end. 15cm [6 inch] 
    • Matching thread
    • Scissors ( or rotary cutter + cutting mat) 
    • Pins 
    • Ruler or measuring tape
    • Sewing machine 
    • An iron preferably with steam. Steam makes the proces of pressing so much easier. Even a cheap one will make a big difference and will work well on cotton.

     no dented sided lined zipper pouch - beginner friendly tutorial

    Continue reading

    How to Sew a Lined Drawstring Bag with Boxed Bottom: Step-by-Step Video Tutorial

    How to Sew a Lined Drawstring Bag with Boxed Bottom: Step-by-Step Video Tutorial

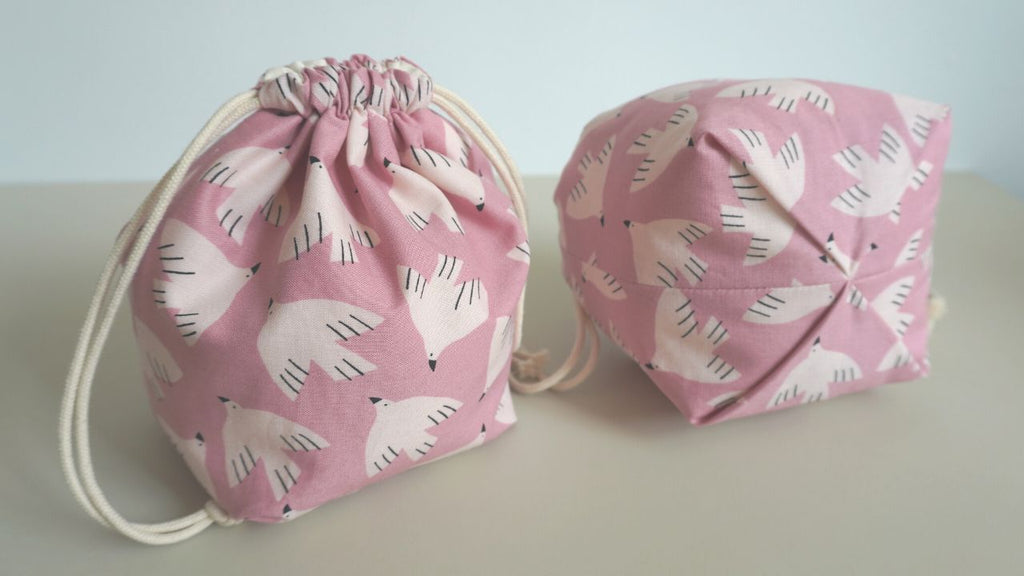
    Are you a beginner looking for a fun challenge to enhance your sewing skills? In this video tutorial, I'll guide you through the process of sewing a lined drawstring bag with a boxed bottom.

    This adorable bag, made with cotton fabric, is an ideal opportunity to make the most of  fabric scraps.

    The pouch is not only perfect as a gift bag but also ideal for small knitting projects or carrying snacks. Trust me, once you make it, you'll find endless uses for this cute bag!

    Continue reading

    Get More out of Your Scrap Yarn This Genius Russian Join Method

    Get More out of Your Scrap Yarn This Genius Russian Join Method

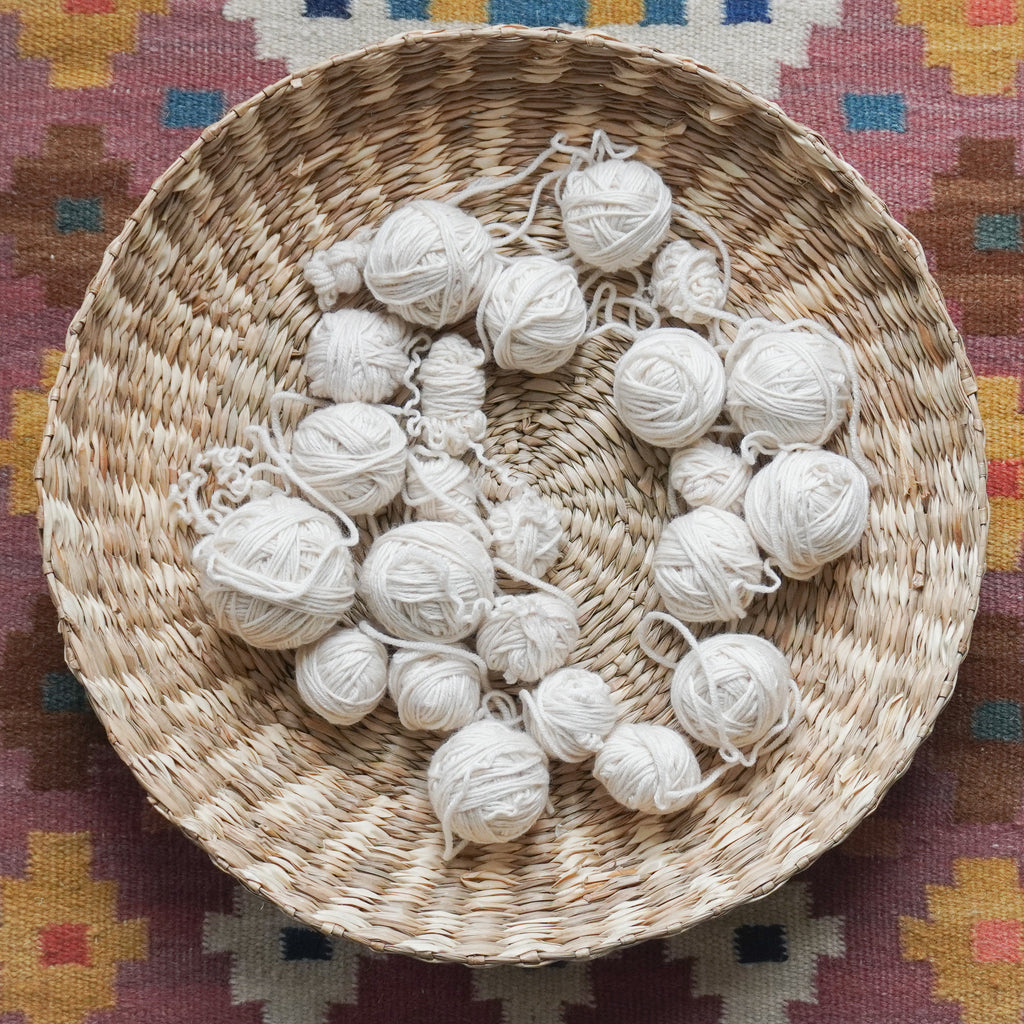
    Have you ever wondered how to turn yarn scraps into full balls without wasting any material? Well, I love using the Russian join that allows you to join yarn without creating a knot. Not only does this technique create a strong and smooth join when you are working on a project, but it also allows you to use up all your yarn scraps and gauge swatches.

    save your scrap yarn with the russian join

    The Russian join is perfect for plied yarn that isn't very sticky. If the yarn is sticky a wet splice is probably a better and faster option.

    The Russian Join 

    To do the Russian join, you thread the yarn through itself, creating a small loop through which you can thread the end of the yarn you want to join it to. I usually use a blunt needle for this, but sometimes it can be a bit fiddly to thread through the yarn. I like to scrunch up the yarn on the needle and then pull the end through the yarn. To ensure a strong join, I thread it through the yarn at least five centimeters. If you have a loop that's too big, you can pull on the tail before smoothing out the yarn completely.

    For yarn that isn't very sticky, I like to thread it through at least five centimeters so that I can taper the ends by thinning out the plies. The extra length gives me some wiggle room and reassurance that it will be a strong join. If you think it looks too bulky, you can thin out some of the plies before smoothing out the crunched up yarn.

    Revive Frogged Yarn 

    One of the swatches I had was made up of a lot of smaller pieces, and I joined them as I frogged. As you can see in the video, there were a lot of kinks in the yarn, but I was able to do the Russian join without much extra fuss.

    After joining each piece, I wound them into a ball by hand, but I wasn't quite ready because of all the kinks in the yarn. So, I decided to use a swift to unwind everything and tie it together so that I could use a steam iron to relax the yarn. It looks so rewarding!

    I did have to move up the ties because the seam didn't quite penetrate the wool underneath it. If you don't have a steam iron, I'm wondering if you could do the same over a pot of boiling and steamy water. Washing is another option, but I don't want to wait for it to dry.

    I'm using a fancy Knit Pro swift and ball winder, but you can just as easily wind it by hand and use the back of a chair to unwind the yarn. It does take more time, but with a nice movie or podcast in the background, it can be an enjoyable process.

    knit pro ball winder center pull cake

    My cake is now ready for a scrappy blanket that I'm planning to knit in the future. I'm so happy with the result!

    Continue reading

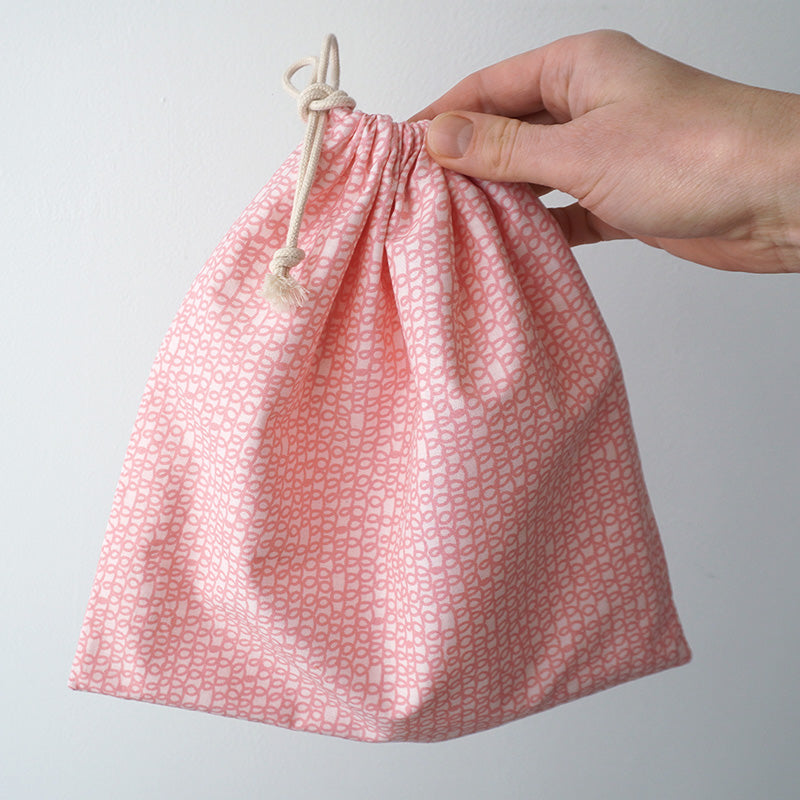
    How To Make A Lined Drawstring Bag From Only One Piece of Fabric

    How To Make A Lined Drawstring Bag From Only One Piece of Fabric

    Easy drawstring bag from one piece of fabric - beginner sewing project

    In this tutorial, I'll show you how to make a lined drawstring bag or pouch using the entire width of fabric. This beginner sewing project is perfect for storing small items, like a skein of yarn, an embroidery project, or use it as a reusable gift bag.

    You'll be able to create a beautiful lined drawstring bag in no time! If you're new to sewing, or just want to learn a new sewing technique, this is the tutorial for you!

    Materials you'll need for the lined drawstring bag:

    - 112 X 29 cm [44"x11.4"], I used thew entire width of the fabric including the selvedge. You can easily adapt the size to your preference or to fit the fabric you have.

    - 3 mm braided cotton cord

    Finished size:  26.5 x 26 cm [10.4" x 10.2"]


    Continue reading

    New Skillshare Class + Giveaway: How to sew with cork and make a crossbody bag

    New Skillshare Class + Giveaway: How to sew with cork and make a crossbody bag

    In this class you'll learn how to sew with cork fabric to create a simple crossbody bag. 

    So if you are curious about how to sew with cork fabric a.k.a cork leather or vegan leather and you want to learn some basic bag making skills, this is the class for you!

    When I first got interested in cork fabric, I had no idea if you could sew the material with a normal home sewing machine, what needle to use or where to find it. Turns out...yes! You can sew cork leather on a regular sewing machine and with a few handy toolit's not as hard as it looks.


    What will you learn in this class?

    • We’ll go over the specifics of working with cork fabric, like what sewing needles to use and my favorite tools for sewing cork.
    • How to shorten zippers set in exposed zippers (metal and plastic)
    • How to add zipper tabs for a refined look.
    • How to get even topstitching
    • how to sew over thick layers
    • And finally, I’ll show you how to alter the pattern to create a smaller bag with a round bottom which will hopefully inspire you to do your own tweaks and customize the design.

    how to sew a cork leather bag, half moon shaped

    What's included in this class?

    • The crossbody PDF sewing pattern included in the resource section, so you can sew along and make your own.
    • My support, I'll do my best to answer your questions in the discussion section.
    • A resource list including my favorite online shops that sell cork and notions
    • 20+ lessons explaining all the key techniques, step-by-step.

    There is much to love about working with cork leather, but these are my main reasons


    Cork leather is:

    • A great alternative for leather
    • Lightweight
    • Durable
    • Easy to work with on a regular sewing machine
    • Available in many colors and prints


    Skill level:

    You’ll need to be confident using a sewing machine and have at least a few projects under your belt...however I am going to show the process step-by-step so if you are an ambitious beginner you should be able to follow along.

    If you are an experienced sewer you’ll probably find that the construction of this bag is fairly straightforward and a fun project to experiment with new material.

    At the end of this class, you'll know how to sew a simple bag using cork leather and you’ll be able to make a few simple tweaks to customize the design. The bag is a great addition to your me-made wardrobe and perfect as a gift.


    Skillshare

    If you are new to Skillshare, it's a subscription service like a Netflix but for learning new skills on mostly creative topics like lettering, sewing, embroidery, filmmaking, illustration, procreate, water colour painting, macrame, ceramics, interior desing, graphic desing and much more!

    And if you sign up through this link you got to watch my class and thousands of other classes for free for 2 weeks! By signing up for a free trial I earn a small commission ($10) which supports my work and enables me to create more classes. So thank you if you do! And imagine me doing a tiny, awkward happy dance when you do :)


    Giveaway

    however if you are only interested in my class, you can use this link there are only 25 free spots in the class! How does it work:

    - Read this before you click You'll need to make an account (simply don't fill out billing info and you'll automatically have a free account). Then make sure you are logged in, then click on the link to watch and you should be able to unlock the full class.

    - First come first serve. 

    By signing up through the free link, I don't earn a commission, but it does help my class get found on skillshare. More students = more visibility! so thank you for signing up and participating in the class and imagine me doing a little happy dance whilst spilling my morning coffee. 

    How to sew with cork leather

    Happy sewing!

    Charlotte


    PS: looking for a fun and free sewing project? Sign up to the newsletter for a free copy of the smallest Tsuno Tie Bag and sew up some scraps. If you ​​​​​​​sign up you also get access to the free printable swatch library, sewing project planner and a few other handy templates. You'll receive the files in your welcome mail :)

    Continue reading

    My favourite way to tape & assemble large PDF Sewing Patterns

    I know a lot of you out there are daunted by the idea, that to make a print at home PDF sewing pattern you have to tape it together, and that means taping together 20, 30, and even 40+ pages.

    I have to admit I mostly send my patterns to the copy shop, but sometimes you see a pattern, and you want to dive right in so there's no way around it and you have to bring out the tape.

    But I have done my fair share of PDF sewing pattern taping, so I thought I'd share my favorite way to prepare and to assemble them in a video.

    I’ll be using my Elskan dress pattern, which if you print all versions, contains 44 pages. I've printed around 24 pages to make the dress with the long sleeves.


    To trim the pages I use an Exacto utility knife + a metal ruler + a cutting mat.

    My trusty utility exacto knife, to trim pdf sewing patterns tiles
    My cutting mat

    My step by step process:

    1. before you do anything, check the scale of the pattern by measuring the test square.

      On my patterns, each tile has squares to line up the pattern pieces and check the scale. The rows have numbers and the columns have letters.
      The smaller squares are 1cm and these larger squares are 1inch.


    2. I'll start by trimming the bottom edge of each row, then one of the sides. To speed it up a bit I stack the papers per row and trim the entire stack.


    3. I'll tape each row first and set them aside until they are all done.


    4. Complete the pattern by taping the rows together. I roll the pattern up as I go or hang the pattern over the edge of the table.


    5. Once the pattern is all taped together I roll it up and set it aside until I find time to trace and sew.


    But because it's easier to show than to explain I made a step by step video of my favorite way to prepare the pattern tiles and assemble a large PDF sewing pattern:

    Click & Subscribe on youtube


    As always there are other ways to do this. For example:

    1. Cut the edges off with scissors or simply fold them back, although that does sound like it would get a bit bulky.

    2. Cut off only the corners and don't trim any of the sides, there will be overlap, but for the most part, it won’t matter. I like the idea of this method, but with my pattern, the markings are probably to light to be seen through the paper.

    3. Use a glue stick instead of tape.

    I don’t know if there is a huge difference in how long it will take to use these different methods but it’s interesting to give these different methods a try and see what works best for you.

    I would love to hear your favorite way to assemble PDF sewing patterns, please leave a comment and share your fav technique.

    Happy sewing!

    Charlotte


    PS: looking for a fun and free sewing project? Sign up to the newsletter for a free copy of the smallest Tsuno Tie Bag and sew up some scraps. If you ​​​​​​​sign up you also get access to the free printable swatch library, sewing project planner and a few other handy templates. You'll receive the files in your welcome mail :)

    Continue reading

    How to download and print PDF sewing patterns at home


    To download and print a PDF sewing pattern, you'll need to download Adobe Acrobat (you can download it for free here) a printer that can print on A4 or letter size paper and a desktop/laptop.

    Make sure you are using the latest version of Adobe and that your printer software/driver is up to date.

    I've made a video showing the steps for the Elskan dress / top pattern, which covers the basics but I wanted to elaborate on a few topics and common questions on how to print and download PDF sewing Patterns at home.

    Continue reading
    • Previous
    • Page 1 of 4
    • Next
    Back to top