How to Make & Sew: Bias Binding


I LOVE BIAS BINDING!

So what is bias binding?
How to use bias binding?
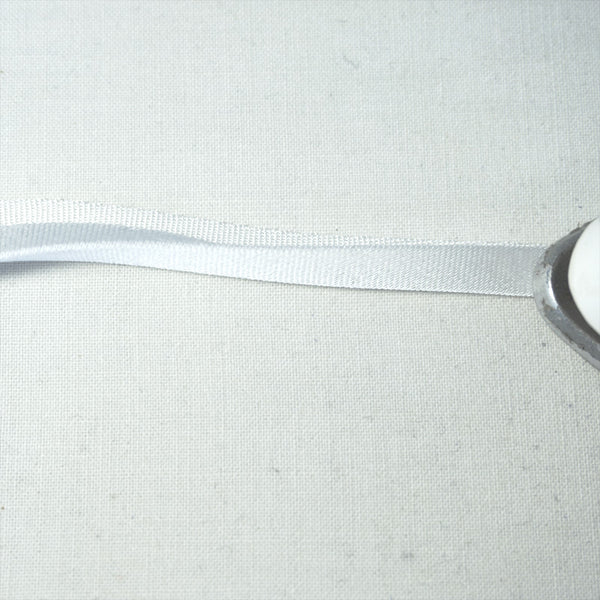
Buy or make your own bias binding?

Press the first raw edge inwards.

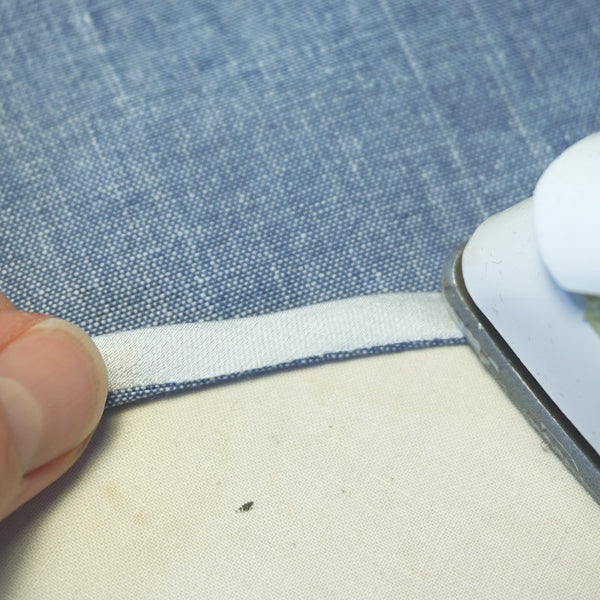
Now fold and press again.
Attaching the bias binding
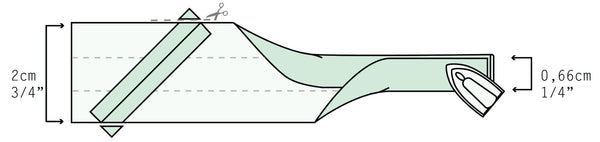
I will show the individual steps in photos, but I always find it helpful to see a technique in different ways so I included an illustration from the Pocket-T pattern where you can see all the steps combined.

Fold the tape open and pin to the right side of the garment. As you can see there is a small strip of fabric next to the bias tape. I normally cut all my garments with a 1 cm seam allowance, the fold in the bias tape has to be 1 cm from the edge. You will trim this edge after stitching the bias tape in place.

Stitch in the fold and 1cm from the edge of your main fabric.


Trim the edge before pressing.

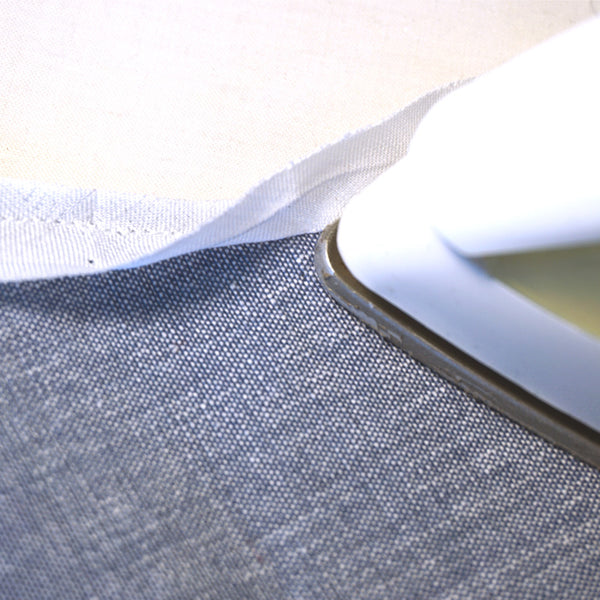
Press the bias tape away from the garment, but be careful not to iron out the second fold.
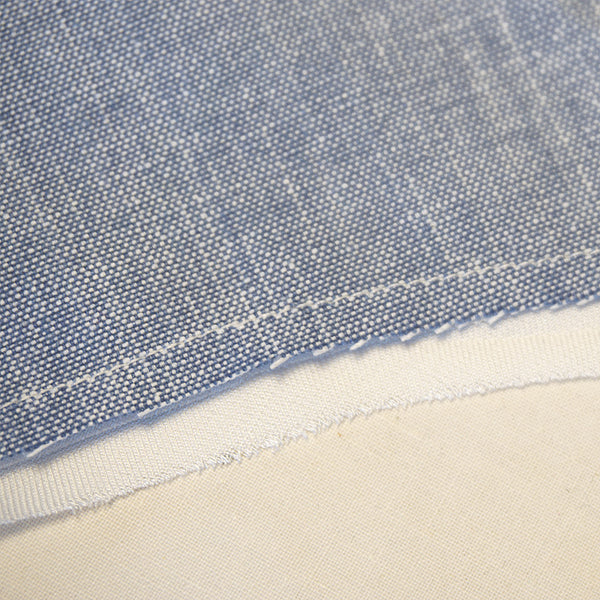
The wrong side should look like this.
Now fold and press the bias binding towards the stitches.

Fold the seam allowance under and press again and add some pins along the way. I like to fold the seam towards the inside of the garment so that the seam of the bias tape is invisible from the right side of the garment.
Stitch the bias binding in place, working on the wrong side of the garment. I always align the edge of the garment to the edge of the presser foot, then change the position of the needle close to the folded edge of the bias binding. If you follow the edge you will get an even stitch line on the right side of the garment and because you are working on the wrong side you don't have to worry about not catching the bias binding on the inside.

Give your work a final press and enjoy!


So lastly a few tips before you storm towards your sewing machine :)
- Narrow binding is key to get the best results!
- If your main fabric does not stay well after ironing, use a different fabric to do the bias binding.
I hope you found the tutorial useful! Do you plan on using this technique? have you tried it? Do you have any questions just leave a comment below, i'd love to hear what you think!
PS: Check out some of my other sewing tutorials like how to sew mitered corners or how to sew corners on a narrow hem or see my favorite and not so favorite sewing tools.
Happy sewing!
Charlotte
PS: looking for a fun and free sewing project? Sign up to the newsletter for a free copy of the smallest Tsuno Tie Bag and sew up some scraps. If you sign up you also get access to the free printable swatch library, sewing project planner and a few other handy templates. You'll receive the files in your welcome mail :)
